Wednesday, April 29, 2015

Sweet as can be

Simple & Sweet

For today's card I used the From the Garden stamp set from the Occasions Catalogue. I hope they carry over this stamp set and the coordinating Handpicked framelits. They are super cute sayings and the picks have so much potential. We'll just have to wait and see! I made a rather simple card with a bunch of colours.


I embossed a piece of Basic Black cardstock with the Tiny Triangles embossing folder. When I was matting it I decided to cut an angled window. I added some strips of cardstock in Real Red, Crushed Curry, Garden Green, Crisp Cantaloupe and Tangerine Tango with some Silver Glimmer for some sparkle. I did only use a few stamps, mainly the little flower bloom and leaves, which I cut out by hand. I made a little cluster of them and stamped the Sweet as can be sentiment on the inset part of the angled cuts. Simple, but sweet.


Stampin' Up! Supplies Used:
Stamps: From the Garden
Papers: Basic Black, Whisper White, Real Red, Crushed Curry, Garden Green, Crisp Cantaloupe, Tangerine Tango Card stock; Silver Glimmer
Inks: Daffodil Delight, Real Red, Crisp Cantaloupe, Pear Pizzazz Classic Inks; Tuxedo Black Memento
Accessories: Big Shot, Tiny Triangles TIEF, Paper Snips, Stampin' Trimmer, Stampin' Dimensionals

Thanks for stopping by, happy stamping!
Beckie

Monday, April 27, 2015

Painted Blooms & World of Dreams

I finally broke open my package of Painted Blooms Designer Series Paper.  I tend to hoard DSP, not sure why I do it - but it's there to use, so I did. The patterns are so lovely, and look hand-painted. I went for a simple card to allow the pretty paper to shine. It has such lovely patterns, with a watercolour feel to them. I decided to cut two of the different patterns from the paper, one with green stripes and one with leaves. I used some Hello Honey for my accent colour. 


I had one of the stamped images from World of Dreams in my scrap box so I decided to use it. I trimmed the end off the punched circle and added a few Rhinestone Basic Jewels to the stems like flowers.  Then to add my sentiment, I went with the Sassy Salutations for the "Feel Better" greeting. I love the script of that set - very whimsical and I think it paired nicely with the leaves on the designer paper. I punched a 1/8" circle out of each end of the Extra Large Oval Punch and wrapped some Wild Wasabi Cotton Twine to hold it in place. It was really a very simple card, but I'm happy with the final look of the card. I hope you like it too, have a great day :)


Stampin' Up! Supplies Used:


Built for Free Using: My Stampin Blog


Thanks for stopping by, happy stamping!
Beckie

Friday, April 24, 2015

I Like You Pointillism

I have a fun technique to share today, it's called Pointillism. According to Wikipedia is a technique of painting in which small, distinct dots of colour are applied in patterns to form an image. Georges Seurat and Paul Signac developed the technique in 1886, branching from Impressionism. I love how the impact of simple dots can add to a project. It works great with an outline stamp, I chose to use the I Like You, one of the hostess only stamp sets from the annual catalogue. I love that this set has various sizes of flowers. This set is on the retirement list, so it is only available until June 2nd. 


I chose some complimentary colours, using Stampin' Write Markers to add the dots of colour to the various flower images. I used Blackberry Bliss and Perfect Plum for the tiny flowers, Daffodil Delight, Crushed Curry, Hello Honey, Pumpkin Pie and Tangelo Twist for the largest flower. For the leaves I used Old Olive, Mossy Meadow and Pear Pizzazz and the final flowers with Bermuda Bay, Coastal Cabana and Pool Party. 


It makes a nice effect, don't you think? From a distance it appears as though it's just shaded, but up close you can see all the tiny dots. I will admit that my hand did hurt after adding all the dots, but I am so happy with how it turned out that it was worth it. I decided to fussy cut out the coloured images then add over a black and white stamped background popped up on dimensionals.


I decided to add the sentiment with varying shades that I used for the largest flower. I hope you like my card, and will try out this fun technique for yourself. Have a great day :)

Stampin' Up! Supplies Used:


Built for Free Using: My Stampin Blog


Thanks for stopping by, happy stamping!
Beckie

Wednesday, April 22, 2015

Painted Petals Pop-Up Book card

Have you checked out the RETIRING PRODUCTS lists from Stampin' Up! yet? A lot of great products, some with discounts up to 50% off their regular prices. So many punches, dies and embossing folders.... LOVE. I've noticed many of the products have already sold out - so I guess they really are while supplies last. I ordered a bunch of stuff myself, I've been wanting to try out the Project Life products for some time - with items at 50% off, it was a no-brainer! 

I have a fun card to share with you today, it's called a "Pop-up Book Card". At least that's what I've heard it called - it does resemble a book so it works! I saw a larger version of this card on Pinterest (I have a link to a video, not by me posted below). I do like the larger version, but I wanted to make a smaller version so I could use 8-1/2" X 11" card stock, rather than 12" X 12" card stock. It only took me a matter of minutes to whip up this card, it really is quite simple. It looks complicated, but it isn't - honest!

Pop-up Book Card


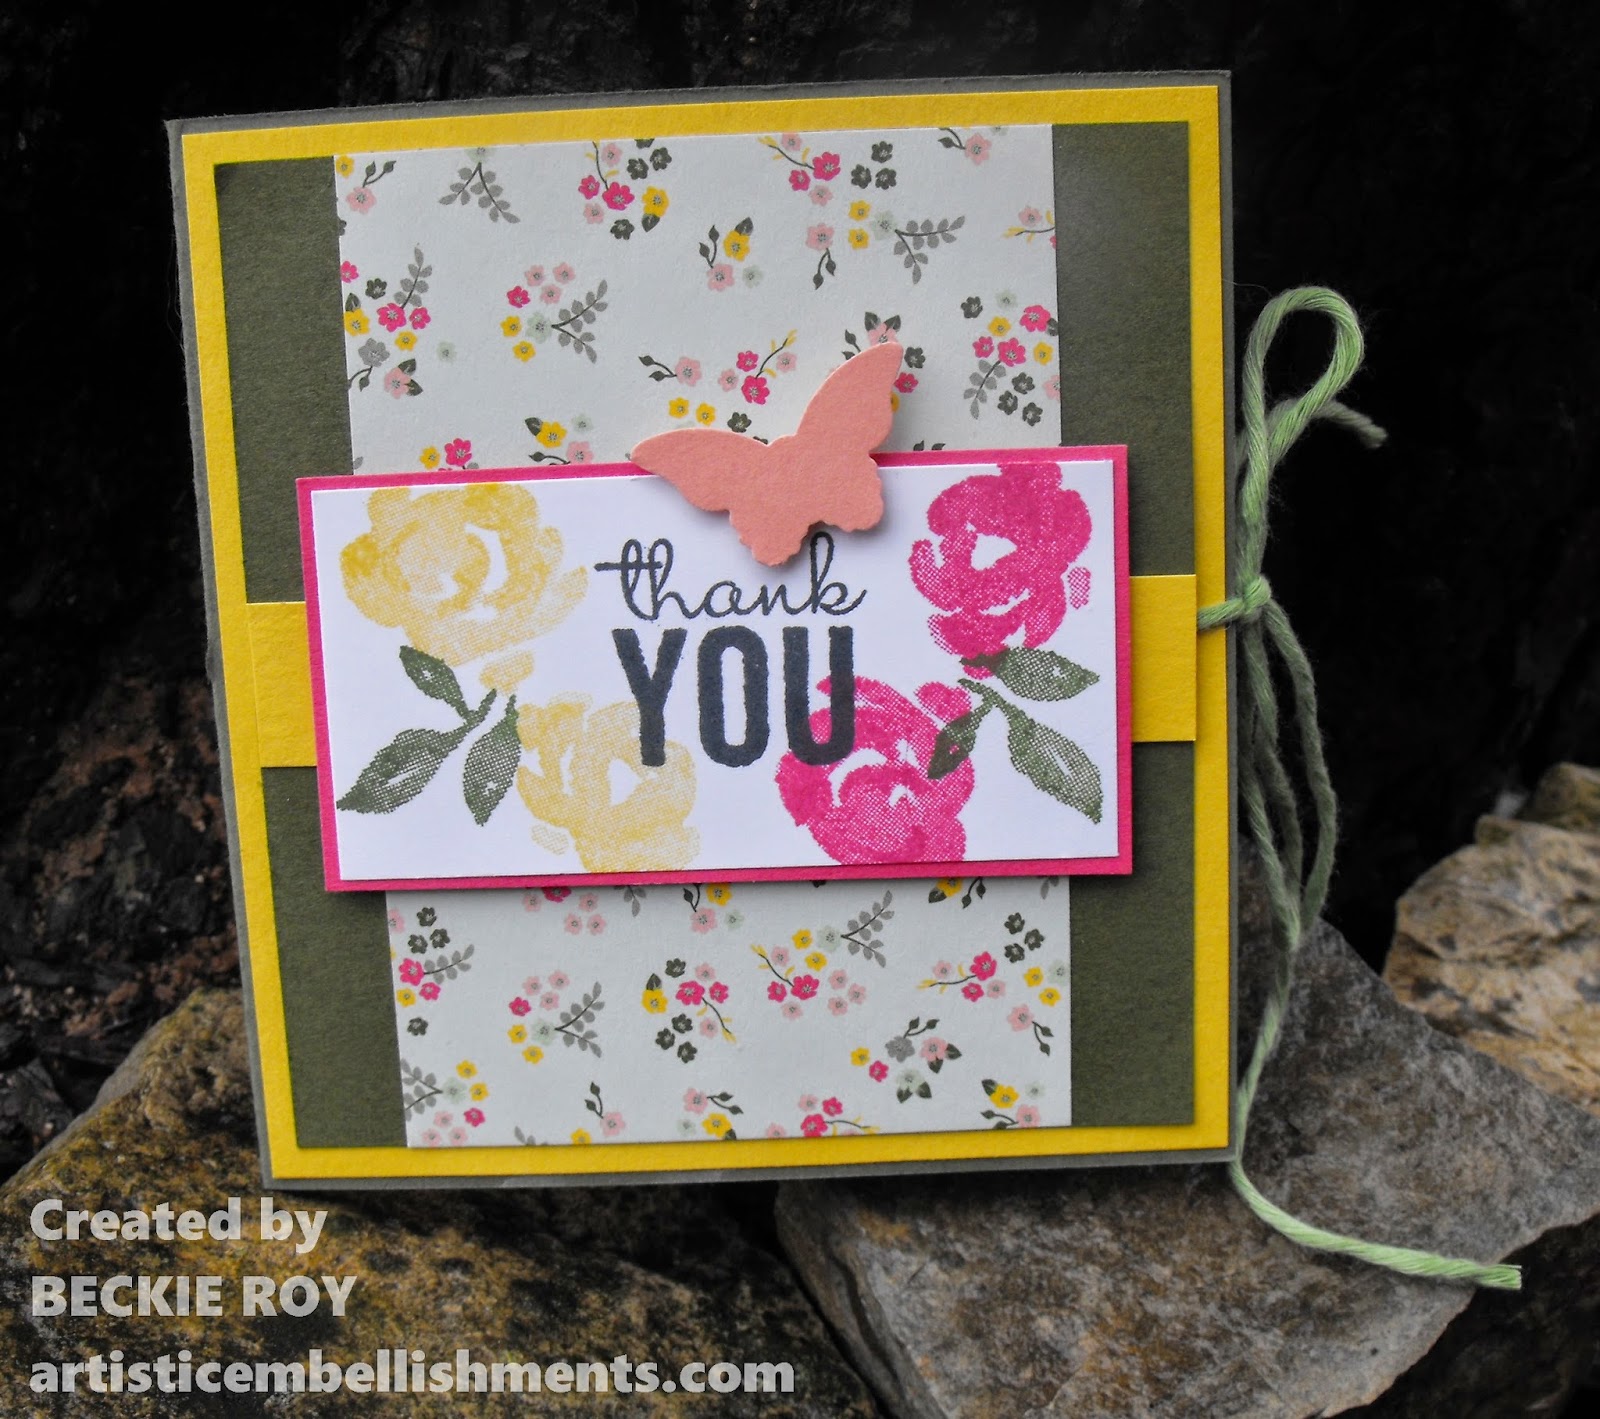
Who doesn't love a pop-up card?! They add an extra special "fun" element to any card. I don't think it matters if you are young or young at heart! I used the Painted Petals stamp set to decorate the inside and outside of my card along with some All Abloom Designer Series Paper, one of those perfect for card making sized paper stacks! Love those stacks, and such a bargain too for 48 sheets at $8.50! They are on the "Retiring List", so they are currently 50% OFF! Only $4.25, needless to say I ordered a bunch!


I added some Painted Blooms Cotton Twine, the Wild Wasabi colour - since that's the colour I used for the inside pop-up on my card. I think it's a pretty card, and would definitely show you are thankful to whomever receives it. I can never seem to have enough thank you cards... here's another one for my stockpile. I hope you like it, if you have any questions - feel free to leave me a comment. You can see the "larger" sized card I made below and the link to the video by Deb Valder. 


Balloon Bash 6 X 6" Pop-up Book Card
This is what the "larger" sized card looks like cut, scored and decorated! 


Both sizes are good, but for me - the smaller version is easier for mailing purposes. Click HERE to see the video for the larger version of the card. I used the Balloon Bash stamp set to make this one. That is the only stamp set I used. My favourite stamp from this set is the one I used on the inside of the card... "I made this just for you because it's your birthday #your welcome". It gave me a chuckle! The supply list for the first card is below, I hope you like my cards - have an awesome day :)


Stampin' Up! Supplies Used: 
Built for Free Using: My Stampin Blog


Thanks for stopping by, happy stamping!
Beckie

Tuesday, April 21, 2015

Ray of Sunshine, you are my Sunshine + RETIREMENT LISTS AVAILABLE NOW!

Stampin' Up! Retirement List is out! 
           Get your favourites while supplies last...        up to 50% OFF! You can view the Retiring Products List HERE

Ray of Sunshine, you are my Sunshine!
This is one of the very first stamp sets that I ordered last June. It is safe, it dodged the retirement list... yay! There was something about the sentiments that I think I was drawn to. Whatever it is, it is a lovely stamp set. I decided to pull it out and play with it some more. This card is rather simple to make - but I like it that way. 


At times I can over complicate my projects, but I didn't need to do much to make this card shine! I simply stamped the solid circle image at the bottom of the Whisper White layer to use as a guideline for stamping my sun rays. I used the stamp-a-ma-jig so my sun rays were pretty evenly spaced. I used Hello Honey Classic Ink and Crushed Curry card stock and twine. I used the Starburst framelits (retiring) to make the sun - thus hiding the edge of the stamped rays. I popped it up on dimensionals, after I stamped the you are my sunshine sentiment and the sun's smiling face. I stamped off for the face though. At the very top of the card I used the striped banner image and I stamped it multiple times to get a nice layered look and variation of the full colour, and the stamped off once and twice tones. I hope you like it and enjoy some Rays of Sunshine for yourself! Have a great day :)


Stampin' Up! Supplies Used:
Built for Free Using: My Stampin Blog


Thanks for stopping by, happy stamping!
Beckie

Monday, April 20, 2015

Hot Diggity Dog... You Little Furball Birthday card

You Little Furball meets Hot Diggity Dog to make a cute card!

It was my husband Mike's birthday this past Monday. I decided to make a fun card for him. I used two uber-cute stamp sets from the Annual Catalogue to make it. I first stamped the cute doggy, one similar to my Tucker. He's a dark, charcoal gray. Since Stampin' Up! doesn't carry such a colour (my hope is that one of the new in-colours will be a dark charcoal gray), I used the Tuxedo Black memento ink - but stamped off once to get the shade I needed. I sponged a bit of black to get him a bit mottled, since he does have some black in his curly fur (he's half poodle!). 


Then I stamped a kitty for each of our kitties. We don't have a kitty image that resembles a big, chubby one like my Jeffrey - but he's the only orangy coloured one so he knew it was to be him. I used some papers from the Adventure Bound Designer Series Paper Stack from the Occasions Catalogue to fill-in the bare spots. I just had to use my #1 favourite - Mr. Hexagon Punch! Yep, he's a Mister. I went with the wood and grass looking papers - it seemed to fit with the "pet" theme. I added some Cotton Twine around the card, since they are always playing with things. I buy so many toys for them, but I find them playing with paper, q-tips, the edge of the treat bag... silly kitties. I guess I could save some money buying toys since they play with any little thing that may fall on the floor? Ah, they're spoiled so I can't see my not buying them anymore toys. Well, hubby liked the card anyways! 


Sadly, one of our cats, Dusty passed away. We knew this was imminent since he's between 19-20 years old and his health wasn't getting any better. He came to us when we found him hanging around my Mom's house over 11 years ago, he was abandoned by his previous owners and starving. We were feeding him daily for a few days when Mike, my now husband took him in, and he's been with him/us ever since. He was such a sweet, gently kitty - we were not ready to say goodbye, but that wasn't our call. He's at peace now, but he is sorely missed. Dusty is the cat on the top left of the card.

  RIP Dusty, we miss you sweet kitty.

REMINDER:  Stampin' Up! Retirement list released tomorrow, April 21st!  
                         

Stampin' Up! Supplies Used:

Built for Free Using: My Stampin Blog


Thanks for stopping by, happy stamping!
Beckie

Friday, April 17, 2015

Back to Black Traveler

Back to Black Traveler
I love the Back to Black Designer Series Paper, it goes with absolutely everything. It can work for many occasions and for masculine as well as feminine cards and scrapbook layouts also. I randomly stamped each of the images from the Traveler stamp set, and punched them out with the 1" square punch. I matted each one onto a layer of Basic Black card stock.


I centered it onto my card front - which my base card is 8" X 4", score at 4". I stamped the sentiment, just because from the A Dozen Thoughts stamp set. This way it could work for a variety of occasions. I love how it turned out, very geometric looking too! I hope you like it :)


Stampin' Up! Retirement List Available Soon!!


Stampin' Up! Supplies Used:

Built for Free Using: My Stampin Blog


Thanks for stopping by, happy stamping!
Beckie

Thursday, April 16, 2015

Indescribable Gift Birthday

Yesterday, I actually managed to get my entire front yard tidied up and ready for my spring flowers to bloom. My backyard will probably take a few days, since it's quite large. That can wait for another day. I took my dog, Tucker out for a long, long walk yesterday... it's so nice to do that after such a long and bitterly cold winter we had. Well, enough about that... onto my card share for today!

Watercoloured Emboss Resist
I was asked to make a card for one of my co-workers Mothers. She told me her mom likes flowers, birds and nature... this was so up my alley! I decided to try out an embossed watercoloured card. I started by stamping with Versamark onto a piece of water coloured paper and adding clear embossing powder. I heat set, ensuring all the powder has been melted. 


I used Strawberry Slush, Calypso Coral and Crisp Cantaloupe to colour the blossoms with an aqua painter. The branches are coloured with Early Espresso and leaves with Old Olive and Mossy Meadow Classic Inks. I tried to remain inside the lines, but with watercolouring it's okay if some colours bleed over the lines. 


I didn't want to colour up the pretty blossoms so I used a piece of vellum to add the sentiment. She requested, Happy Birthday Mom from all of us. Since I didn't have a stamp that said that I improvised with the "MOM" using the Little Letter Thinlits Dies, and the Happy Birthday is from "Butterfly Basics" and the from all of us is from the "From the Herd" stamp set. As a finishing touch,
 I added some Rhinestone Basic Jewels and a cute little birdie above the "MOM". 
I think I'll have to make some more cards with this technique. I hope you like it, have a great day :)


Stampin' Up! Supplies Used:


Built for Free Using: My Stampin Blog


Thanks for stopping by, happy stamping!
Beckie

Wednesday, April 15, 2015

Ray of Sunshine through Sheltering Trees

Hi there! What beautiful weather we've been having lately. I'm going to tidy my gardens today.... it's bound to take all day since I have so many. But a little fresh air never hurt any body. I have a card to share that I made for a friend of mine at work. She confided in me the other day about her spouse, some rather upsetting news. I went home and made her this card to let her know I'm thinking of her and her spouse and that my positive thoughts are being sent their way. 


I decided to use a favourite of mine, Shetering Tree. It's such a beautiful set and can fit so many different occasions or card types. I stamped a field of trees fresh with spring blossoms, I even added some flowers to the grass. I paired my trees with a sun and sentiment from the Ray of Sunshine stamp set. I decided to make the sunshine rays beaming on the meadow of trees. It's easy to do, just get a scrap of paper and sponge towards the edge of the paper from the start of the sun until you have your entire sun finished. For this card, I covered the entire background - through the meadow of trees.

The sentiment I chose is so beautiful. It was written by Walt Whitman - "Keep your face always toward the sunshine and the shadows will fall behind you." I hope everything will work out for my friend and her husband, my heart just breaks for her after the heart-wrenching year she endured last year. I hope my card and the message help her to be strong and think positive. She is kept close in my thoughts. 


Stampin' Up! Supplies Used:
Built for Free Using: My Stampin Blog


Thanks for stopping by, happy stamping!
Beckie

Tuesday, April 14, 2015

Simple HAPPY birthday

Simply Simple HAPPY Birthday


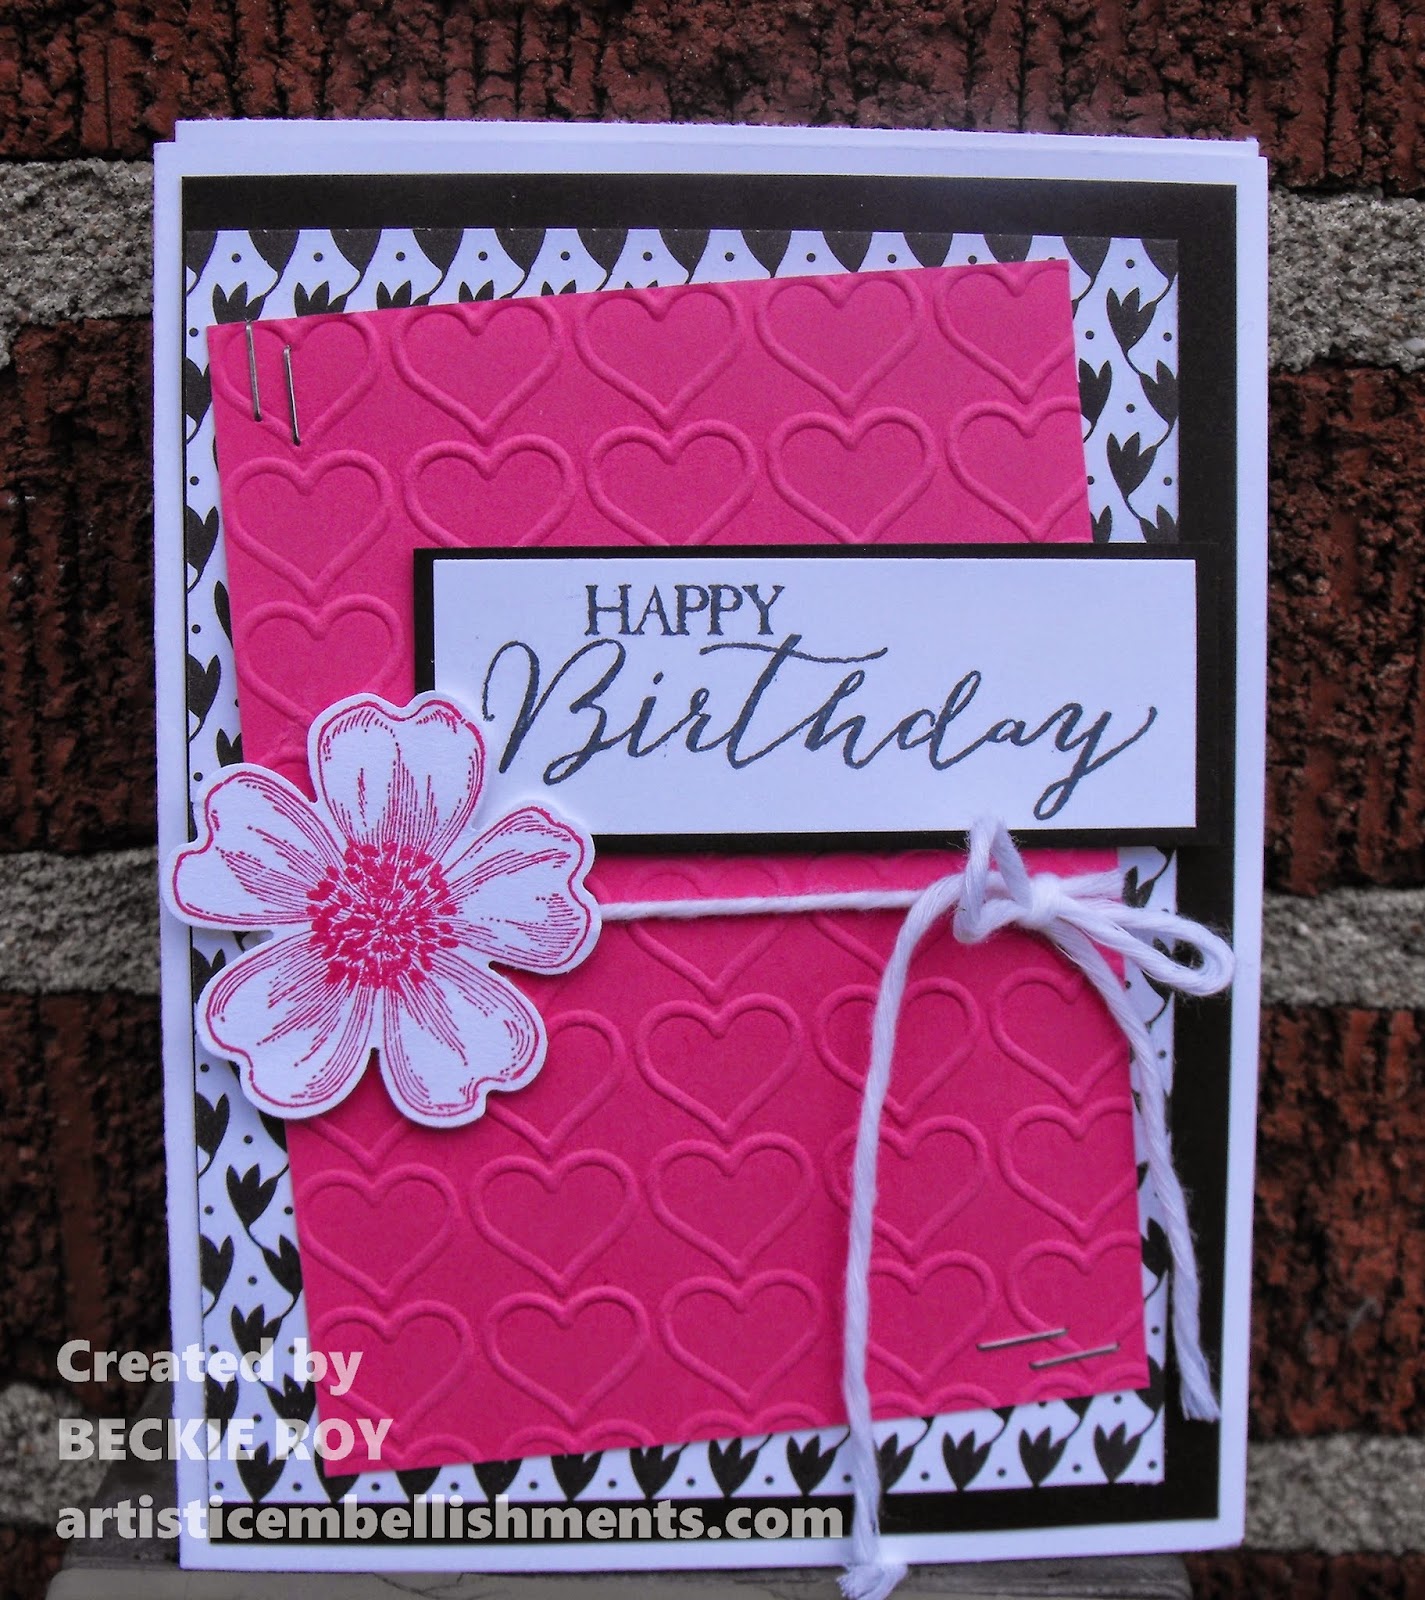
This card is just that - simple. It only took a matter of minutes to create (including the cutting and embossing). Super easy to whip up a bunch of cards quickly. I cut a layer of Basic Black, and a piece of Stacked with Love Designer Series Paper. I cut a layer of Strawberry Slush card stock, and embossed with the Happy Hearts Textured Impressions Embossing Folder - attached on an angle with the handheld stapler. The sentiment is from the Butterfly Basics stamp set, and a piece of Cotton twine wrapped around the strawberry layer and a punched out flower from the Flower Patch stamp set. Simply, simple. I hope you like it - have a great day :)

Stampin' Up! Supplies Used:
Stamps: Butterfly Basics, Flower Patch
Papers: Stacked with Love Designer Series Paper; Whisper White, Basic Black and Strawberry Slush Card stock
Inks: Strawberry Slush Classic Ink; Tuxedo Black Memento Ink
Accessories: Pansy Punch, Whisper White Cotton Twine, Stampin' Dimensionals, Big Shot, Happy Heart Textured Impressions Embossing Folder, Handheld Stapler, Staple, Stampin' Trimmer

Thanks for stopping by, happy stamping!
Beckie

Monday, April 13, 2015

Traveler meets Age Awareness

Today is my hubby Mike's birthday - Happy birthday Mikey! I just had to share a birthday card today!
I love the fine detailed stamp images in the Traveler set are so lovely, and very vintage. I decided to go for a vintage-inspired look with my card. 


I started with my handy-dandy stamp-a-ma-jig! I don't know how I ever lived without this tool. I opted to use the camera image and to stamp the entire background of my layer. 


I sponged the edges of the stamped layer, then dabbled it with a sponge also. It made a sort of speckled appearance on the layer, making it look more vintage inspired. I cut out one of the camera images, coloured it with Bermuda Bay and Coastal Cabana Stampin' Write Markers. I decided to add a tiny bit of subtle colour to each camera lens by colouring with a Soft Sky Stampin' Write Marker.
I cut a piece of card stock to look like a camera flash went off. I stamped my sentiments "Happy Age Awareness Day". I thought it went with the whole camera and taking photo theme.


Stampin' Up! Supplies Used:

Built for Free Using: My Stampin Blog


Thanks for stopping by, happy stamping!
Beckie

Sunday, April 12, 2015

Lovely Amazing You!

I made these two cards at a gathering back in February. These cards must have gotten lost in the stacks of cards I have. Jenn, my upline had the BRAND NEW (well, then it was). It was the photopolymer monthly release stamp set Lovely Amazing You. I love the feather image, so naturally I had to use it on both of my cards. The first card I made in a couple of minutes - it was super simple. I stamped the feathers in a circular pattern before die-cutting them out with the Circles Collection Framelits Dies. I decided to stamp the entire background with the lovely amazing you sentiment on a diagonal before adding the circles. Since the stamps are photopolymer, they are completely clear so it's super easy to line up the feathers and sentiments exactly where you want them.


The next card also uses the feather stamps, this time I used Cajun Craze and Crushed Curry inks - then added some clear embossing powder then heat set them. I stamped two more in only Cajun Craze ink, then fussy cut them out. The feathers were a bit time consuming to cut out, but I finished what I started. 


You can see all the stamps in this fun set below, such great sentiments for a variety of occasions. 


Stampin' Up! Products Used:
Stamps: Lovely Amazing You
Papers: Whisper White, Basic Black, Cajun Craze and Crushed Curry Cardstock
Inks: Tuxedo Black Memento Ink; Cajun Craze, Real Red and Crushed Curry Classic Inks; Versamark
Accessories: Paper Snips, Clear Emboss Powder, Heat Tool, Circles Collection Framelits Dies, Big Shot, Magnetic Platform, Stampin' Dimensionals, Stampin' Trimmer, Whisper White Baker's Twine, Sponge Daubers

Thanks for stopping by, happy stamping!
Beckie

Saturday, April 11, 2015

Undefined: Custom Carved Stamps

Undefined: Hand-Carved Stamps
Have you tried carving your own stamps before? I did back when I was in middle school... a very simple one - many moons ago. The Undefined stamp carving kit is not something new. Not sure why I took so long to give it a try, but I must say that I was pleasantly surprised at how simple and easy it was to carve. I made 6 stamps, it was so much fun. I think I'm hooked. 


I am a huge fan of the Nightmare before Christmas. There's a skeleton in it, go figure right?! I decided that Jack Skellington would be my first attempt at carving my OWN stamp. As I was carving it, I kept singing one of the songs from the soundtrack Nightmare Revisited by my favourite band - Rise Against "Making Christmas". I kept singing "Making Stamps, making stamps"... I know I'm weird. It is a rad song though! Can't wait until July to see them live again - 10th time!!! Eeeekkkkkk!

I just happened to make a Rise Against stamp too with their logo! It will be great for my scrapbook layouts from the concerts I've been to. For my card, I went rather simple since the STAMP is the main focus. I added a sentiment from the Just Sayin' stamp set and cut it out with the Word Bubbles Framelits Dies. I went with a Halloween inspired colour scheme, with Basic Black, and Tangelo Twist = LOVE! I used a piece of the Stacked with Love designer series paper stack - the black and white side. Another LOVE! It is a simple card, but I love it :) 


I've attached a video I found, it features the entire soundtrack. If you feel so inclined to listen?! "Making Christmas" is around 40:15. It's pretty rad, have an awesome day :)


Stampin' Up! Supplies Used:
Stamps: Undefined Stamp Carving Kit; Just Sayin'
Papers: Basic Black, Whisper White & Tangelo Twist Card stock; Stacked with Love Designer Series Paper 
Inks: Tuxedo Black Memento
Accessories: Stampin' Dimensionals, Stampin' Trimmer, Paper Snips, Word Bubbles Framelits Dies, Big Shot Die cutting Machine, Magnetic Platform 

Thanks for stopping by, happy stamping & carving!
Beckie


Friday, April 10, 2015

Artisan Embellishment Kit... you are amazingly AMAZING + Last day of FREE SHIPPING!

Amazingly, AMAZING 
Artisan Embellishment Kit
I received the Artisan Embellishments Kit a few weeks ago and finally had a chance to play with it. I used the "stencil" to sponge some Crisp Cantaloupe classic ink onto a piece of Whisper White card stock. I layered the stenciled piece onto a piece of Crisp Cantaloupe, Crushed Curry and Garden Green. I trimmed the edge of the Garden Green piece with the Spiral Border Punch


The background is a piece of Flower Pot Designer Series Paper matted onto Tangerine Tango card stock. The sentiment is is from the Painted Petals stamp set, stamped with Tuxedo Black Memento ink.

A final touch is the little rose ribbon with a pearl, also from the Artisan Embellishment Kit. I can see a lot of fun projects being created with this kit.


LAST  CALL.... for FREE SHIPPING!   
Today is the very last day to get FREE SHIPPING on any order. Until just before midnight tonight! A great opportunity to stock up on the 2013-2015 In-Colours before the retirement list comes out.... in the past they always sell out quickly. 


Stampin' Up! Supplies Used: 

Built for Free Using: My Stampin Blog


Thanks for stopping by, happy stamping!
Beckie

Wednesday, April 8, 2015

Choose Happiness meets Kinda Eclectic

I've got a pretty floral share, using one of the stamp sets from the Annual Catalogue called...
Choose Happiness meets Kinda Eclectic


I started by stamping the leaf foliage image from Kinda Eclectic several times with Mossy Meadow Classic Ink. Then several of the dahlia image and fussy cutting all of them out. They were stamped with Blackberry Bliss Classic ink and sponged with Rich Razzleberry Classic ink. 


I layered the dahlias with dimensionals to get a nice layered look. The sentiment is also from the Choose Happiness stamp set - When I need a friend, you're there. I made a banner and added it to the card with dimensionals - but with a bowed effect. Gold Glitter was added to the center of each bloom.


You still have 3 days to save the SHIPPING fee (minimum of $9.95 Canadian) with any order from Stampin' Up! Such a great opportunity to stock up on the In-Colours 2013-2015 that are set to retire before the retirement list comes out on April 21.


The inks and card stock colours always sell out quickly, 
why not stock up while they are still available? 


Stampin' Up! Supplies Used:

Built for Free Using: My Stampin Blog


Thanks for stopping by, happy stamping!
Beckie

Tuesday, April 7, 2015

Butterfly Basics: Circle of Butterflies

I have a quick card to share today. I had envisioned making a circle with the bitty butterfly stamp from the Butterfly Basics stamp set.


 I made an ombre effect with Pacific Point Classic Ink. I could have just left it with just a circle of butterflies, but I decided to stamp and punch out the butterflies.


I added each one with a dimensional so it appears as though they are fluttering around the card front.


Stampin' Up! Supplies Used:

Built for Free Using: My Stampin Blog


Thanks for stopping by, happy stamping!
Beckie

Monday, April 6, 2015

I LOVE LACE meets a Hexagon Hive of Butterfly Basics + DAY ONE of FREE SHIPPING

Good morning, exciting news - Stampin' Up! will have 5 days of FREE SHIPPING beginning TODAY! What a great opportunity to pick up some of the In-colours that are retiring or any bits & pieces you may need!


Today, I have a card to share with you. I stamped a card layer with the I Love Lace background stamp, then using the Hexagon Hive Thinlits die to get my hexagons. I used the actual die cut to make a template, then added each of the stamped hexagons to their proper place. Some are popped up on dimensionals, some are just glued down with Tombo Multi-purpose Liquid Glue. 


I didn't want to cover up the hexagons, so I added a piece of vellum cardstock to add the sentiment over the center. I stamped with Bermuda Bay Classic Ink, then added some clear emboss powder and heat set to have an embossed sentiment.


The large butterfly from the Butterfly Basics stamp set has the same pattern as the I Love Lace background stamp, except it is the reverse.


After I attached the hexagon pieces, I still had the left over die cut that I used for the stencil - I used the Bitty Butterfly Punch to punch out some coordinating butterflies to add to the black spaces.


For the butterfly, I stamped two - with Bermuda Bay Classic Ink - then in Black ink around the edges. The top butterfly is just stamped in Bermuda Bay.


I layered all three butterflies on top of one another with a dimensional in between each. As a final touch I added some sequins from the Bermuda Bay Sequin Trim.


I hope you like it, and have a great day :)


Stampin' Up! Supplies Used: 

Built for Free Using: My Stampin Blog


Thanks for stopping by, happy stamping!
Beckie

LinkWithin

Related Posts Plugin for WordPress, Blogger...